Quick Start
Unboxing
Standard Edition users will receive by default:
- HINATA × 1
- USB Type-C cable × 1
- Mifare Classic 1k sak:0x08 blank card × 1
Lite Edition users will receive:
- HINATA Lite × 1
What to Do
0. Notes
After receiving the card reader, check the firmware version and update to the latest release. See Firmware Update.
Note for HINATA Lite:
Since HINATA Lite uses off-the-shelf RF antenna modules, performance may vary with close-proximity card scanning. The optimal reading position for some cards isn't direct contact but slightly elevated (a few centimeters). If you encounter unstable scanning with compatible cards:
- Test card stability in HINATA Control Center
- Elevate cards slightly during gameplay or use non-metallic spacers
- Alternatively, apply copper foil tape to the red-lit area on HINATA Lite's back (test optimal size via web interface).
1. Connect to Computer
Connect HINATA to your computer using the USB Type-C cable.
- HINATA glows yellow when powered, then transitions to blue after successful USB handshake.
- HINATA Lite shows a steady red backlight (this is normal).

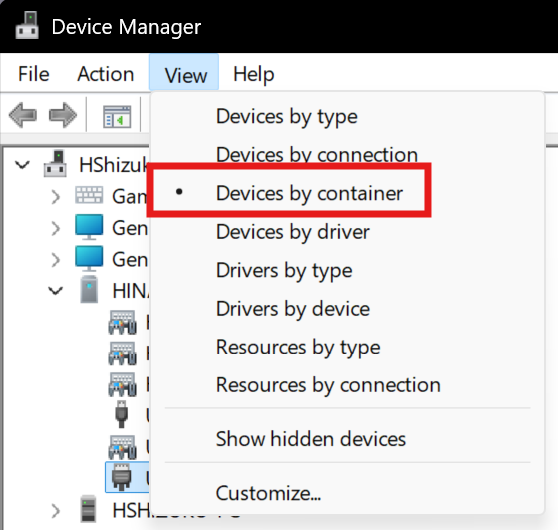
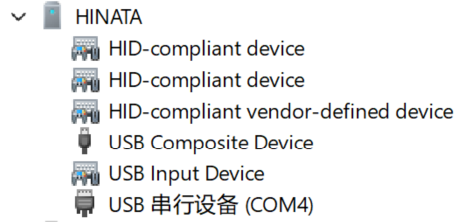
Windows Device Manager should now detect HINATA:

2. Write Aime Card Number to Included Card
(Standard Edition only)
The blank card requires an Aime number to work with SEGA games.
Skip this step if using your own Aime, Banapass, or Amusement IC card.
Writing methods:
3. Configure Games
SEGA and KONAMI game configurations can coexist.
(Reader automatically switches states – no need to adjust SEGA settings when configuring KONAMI games)